
Are you looking for a practical way to change the color finish of your bathroom vanity? Or do you want to revamp your bathroom’s appearance without remodeling it? Painting your old vanity is a great way to change the entire look of your bathroom in a pocket-friendly manner. For your convenience, we have put together a step-by-step guide to paint your bathroom vanity. Scroll down to explore an easy way to give your bathroom vanity a new look.
Considerations Before You Paint Your Vanity
Before you get your hands on the job of painting your bathroom cabinets, make sure you have considered the following factors for the best results.
Choose the Primer Wisely
The first step to getting a neat finish for your vanity is to select the correct type of primer according to the surface of your vanity. It is recommended to purchase the best primer you can afford as it decides how long your new paint will last.
The role of primer becomes more prominent if the original color of your vanity is dark, like black or navy blue. In this case, the initial color of the vanity might show through the new paint if the primer is not tinted to the new color you are going to paint. Discussing this with an expert paint retailer is best to get a suitable primer for your surface.
Select High-Quality Paint
Who wants their paint chipping away in a few months? No one, of course. Regardless of the paint brand you select, make sure to buy their higher quality tier for durability. We suggest you purchase satin or semi-gloss paints as they are highly water resistant and give a hard finish
Gather the Required Accessories
Here is a list of items you might need for your DIY paint job:
- A screwdriver or drill
- Rubber gloves
- Paintbrush
- Sandpaper
- Primer
- Paint tray
- Foam roller
- Paint
- Wood filler
Step-by-Step Guide to Paint Your Bathroom Vanity
Once you collect all the essentials, follow these easy steps to finish your painting job nicely.
Step#1: Hardware Removal
The first step of your task is to remove all the hardware, drawers, cabinets, and hinges from your vanity using a drill or a screwdriver. Don’t forget to label all the removed items properly, so you know what fits where at the time of reassembling.
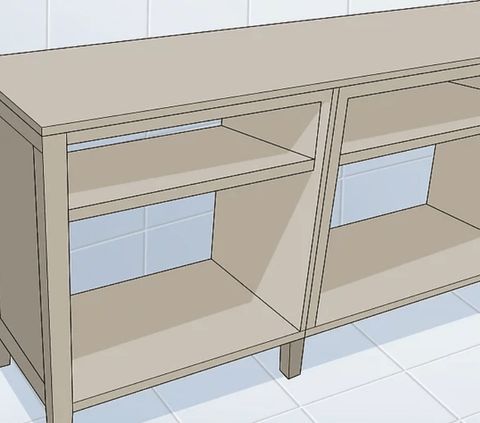
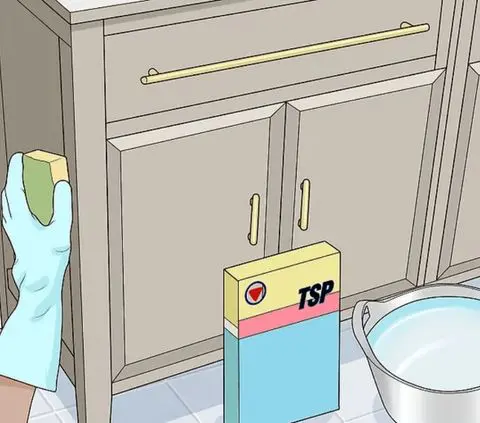
Step#2: Prepare your Surfaces
Prior preparation is essential to get the best results in the end. So don’t rush and clean all the surfaces that are going to be painted. Scrub and clean both sides of your vanity cabinets and drawers with a cloth damped in a cleaning solution.
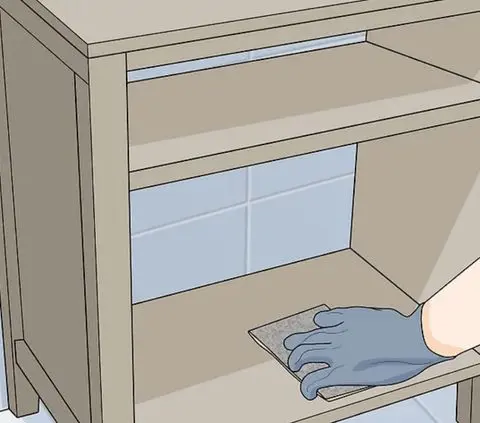
Step#3: Fill Cracks and Sand the Surface
Use a wood filler or any spackling compound to fill any holes or cracks in your vanity. Let it dry, and then gently sand the surface of your bathroom cabinets. Sanding helps your new paint to set on the surface nicely. It also dulls the original finish and allows better sticking of the primer.
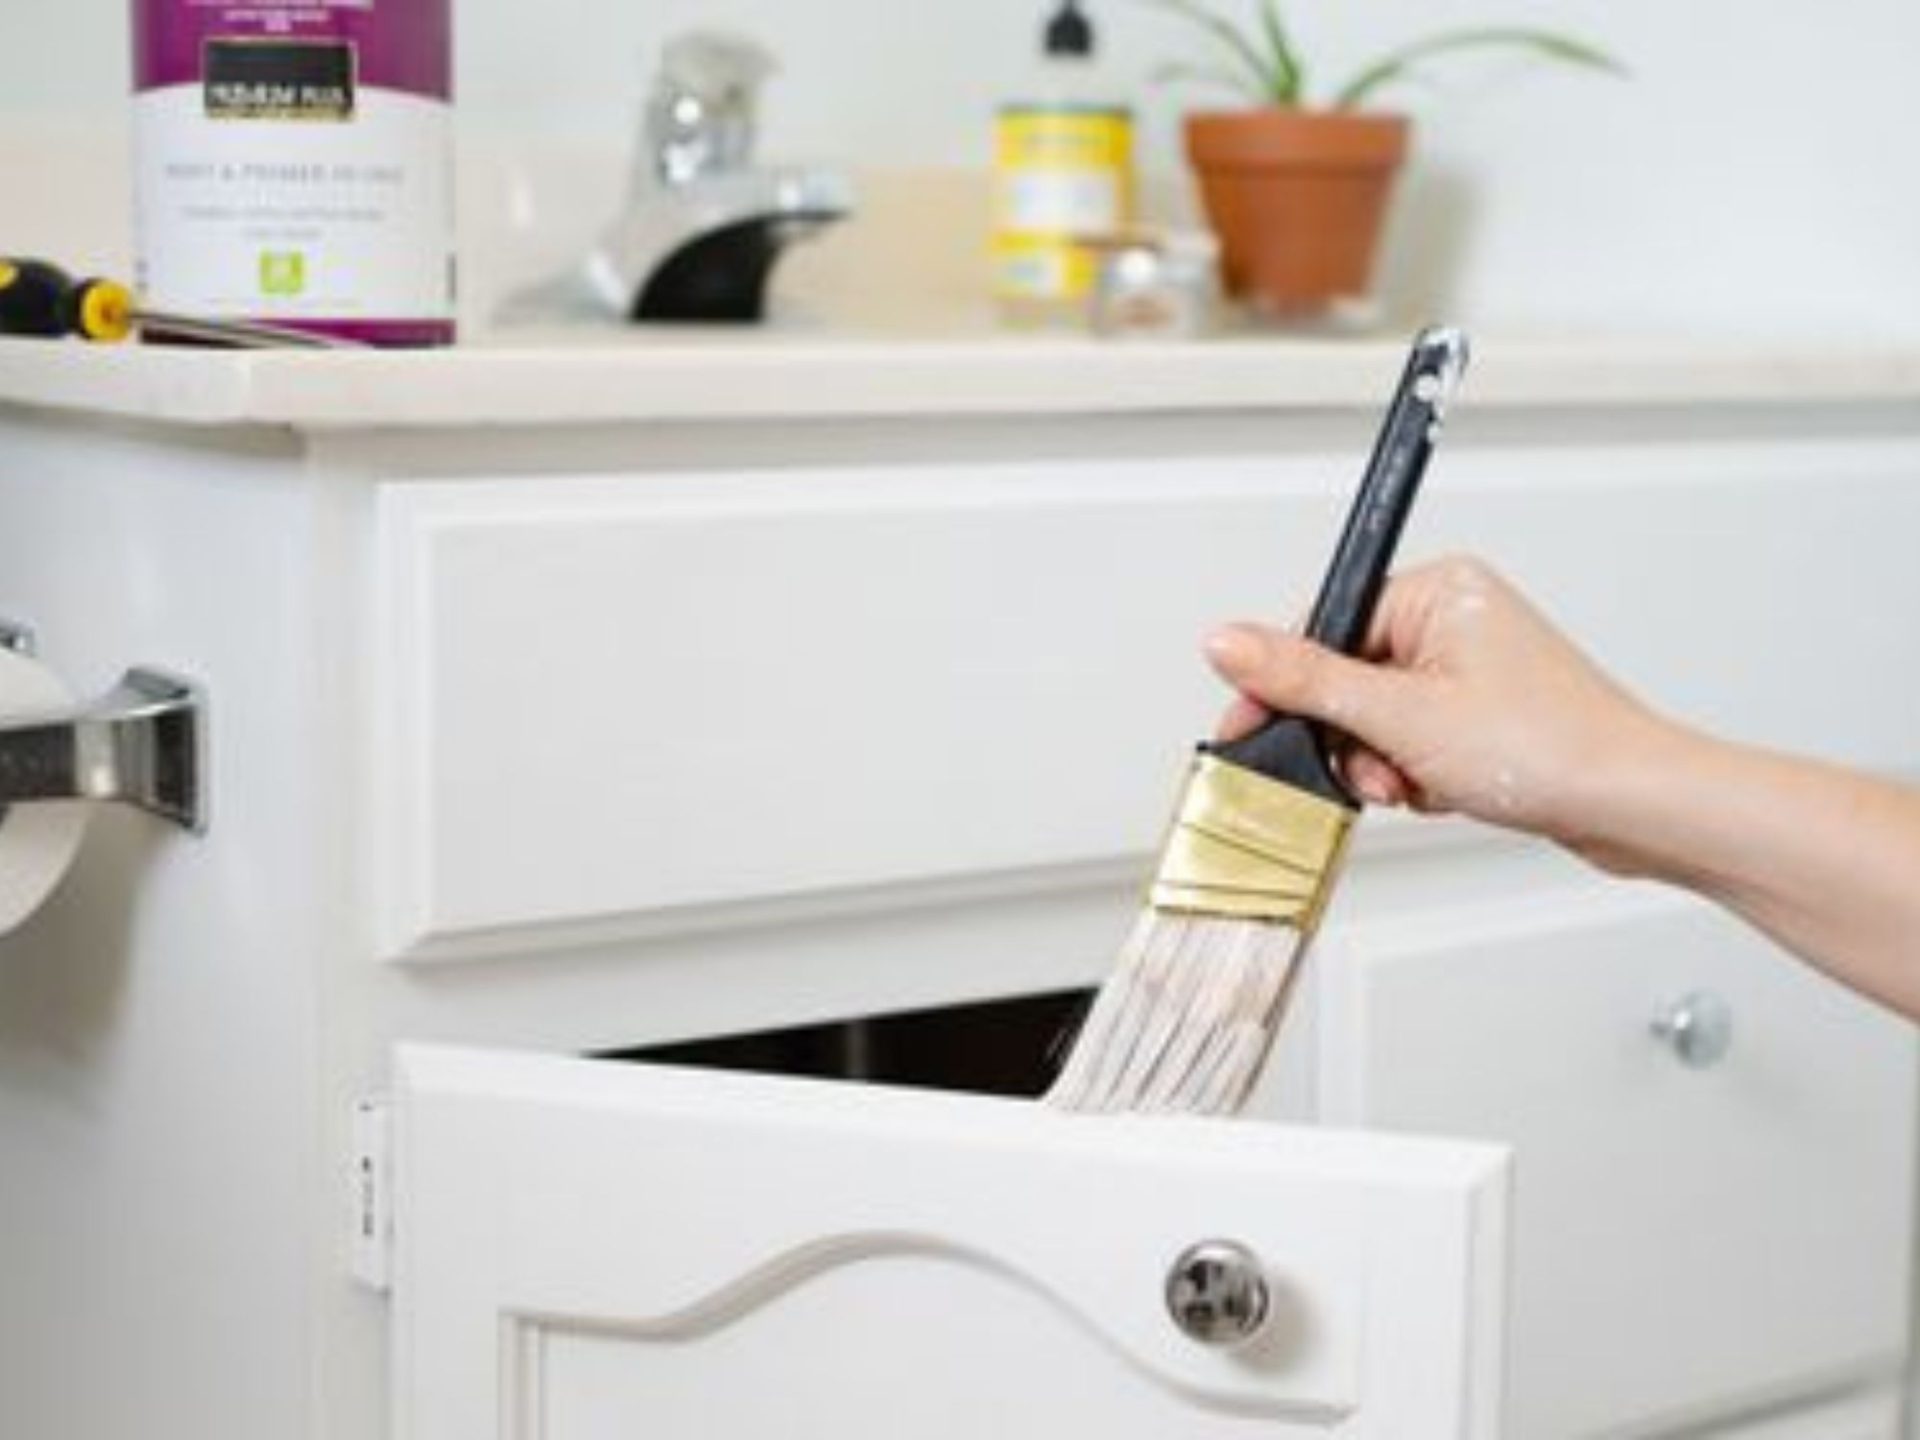
Step#4: Apply Primer
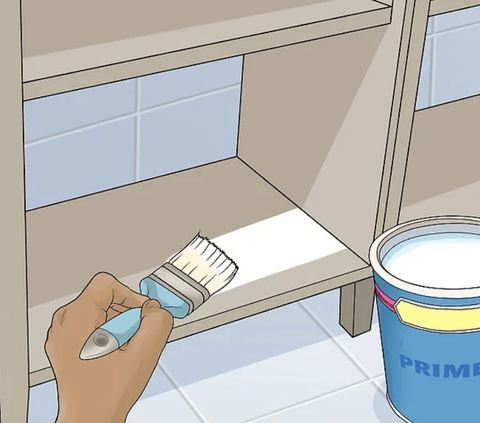
Use the roller to apply a fine coating of primer on the surfaces of your bathroom cabinets. Use a brush to apply primer to areas where a roller can not be used. Make sure you have covered everything with your primer and dried it before applying paint.
Step#5: Start Painting
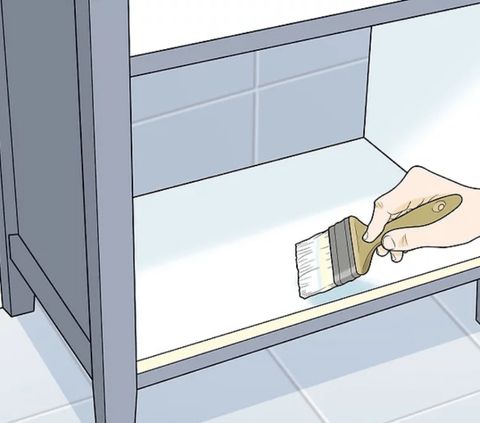
Stir and prepare your paint solution and pour it into your paint tray. Now load your foam roller and start painting your cabinets and drawers on both sides. Let one side of every cabinet and drawer dry before painting the other side. Paint everything in a thin coat and apply at least two coats of paint everywhere. This is not a rush job, so let your paint dry completely between every coat.
Step#6: Reassemble Everything
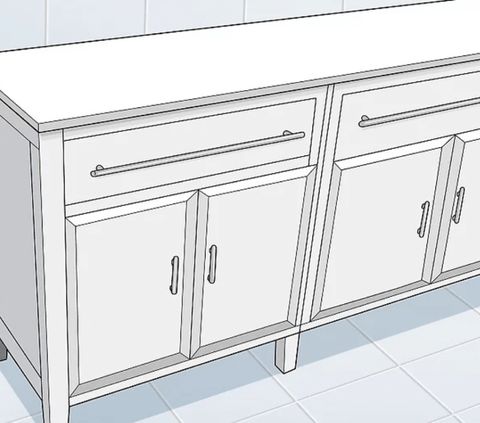
Before reinstalling everything in its place, give the time of a day or two for your painted drawers and cabinets to dry completely. Once everything is dried, it is time to reinstall everything in its place. Screw all the hinges you took out according to the labeling and slide the drawers back into their original places.
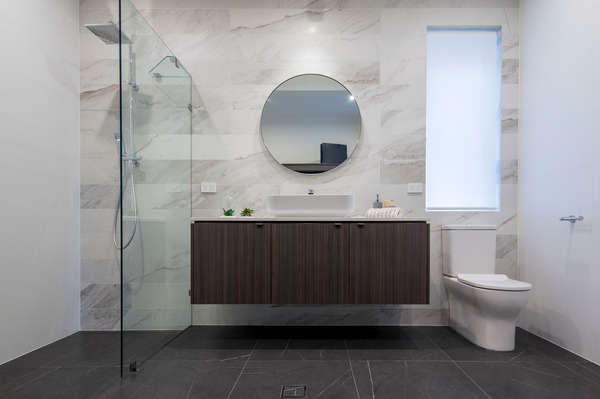
When to Replace Your Bathroom Vanity?
Has your vanity unit got mold patches? Or does it have deep cracks and chips? In either case, you might need to replace your vanity unit. Mold infestation can cause bigger problems for you as it spreads into its surroundings in no time. Minor cracks and chips can be repaired with wood filler, but the sizeable ones can damage your bathroom floor. A damaged vanity can also cause plumbing problems resulting in leakages in your cabinets and drawers.
Moreover, putting so much effort and time into painting a damaged or mold-infested vanity is useless. Moisture and significant cracks in a damaged vanity cause the paint to chip off within a few weeks. So if your vanity is broken or it has grown mold, we suggest you invest in purchasing a new vanity unit for your bathroom
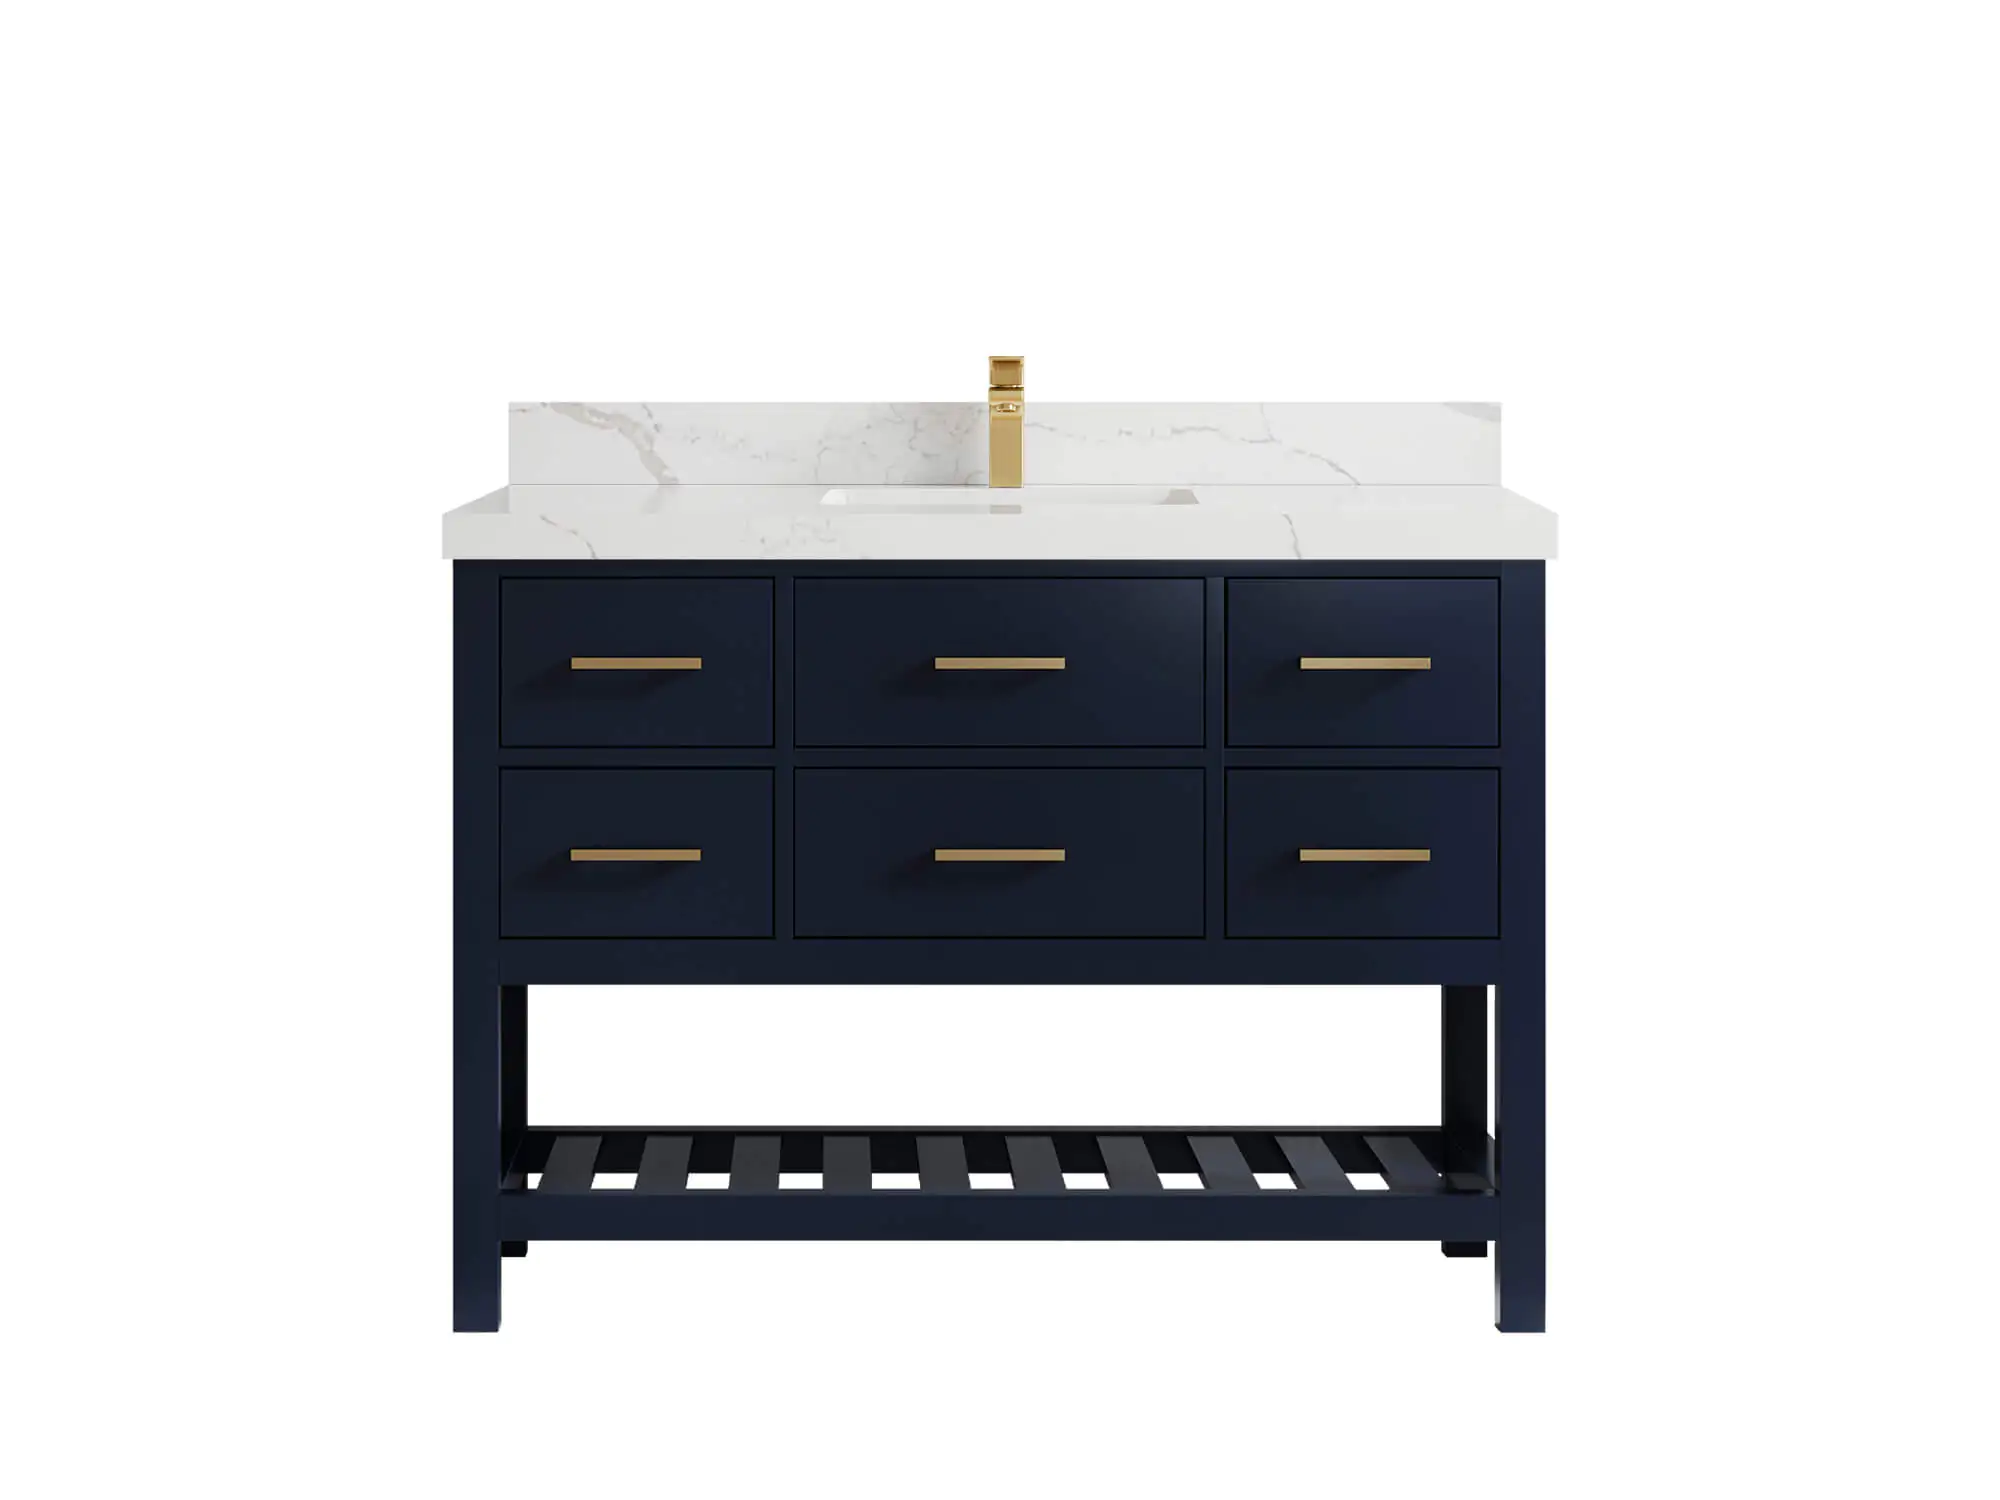
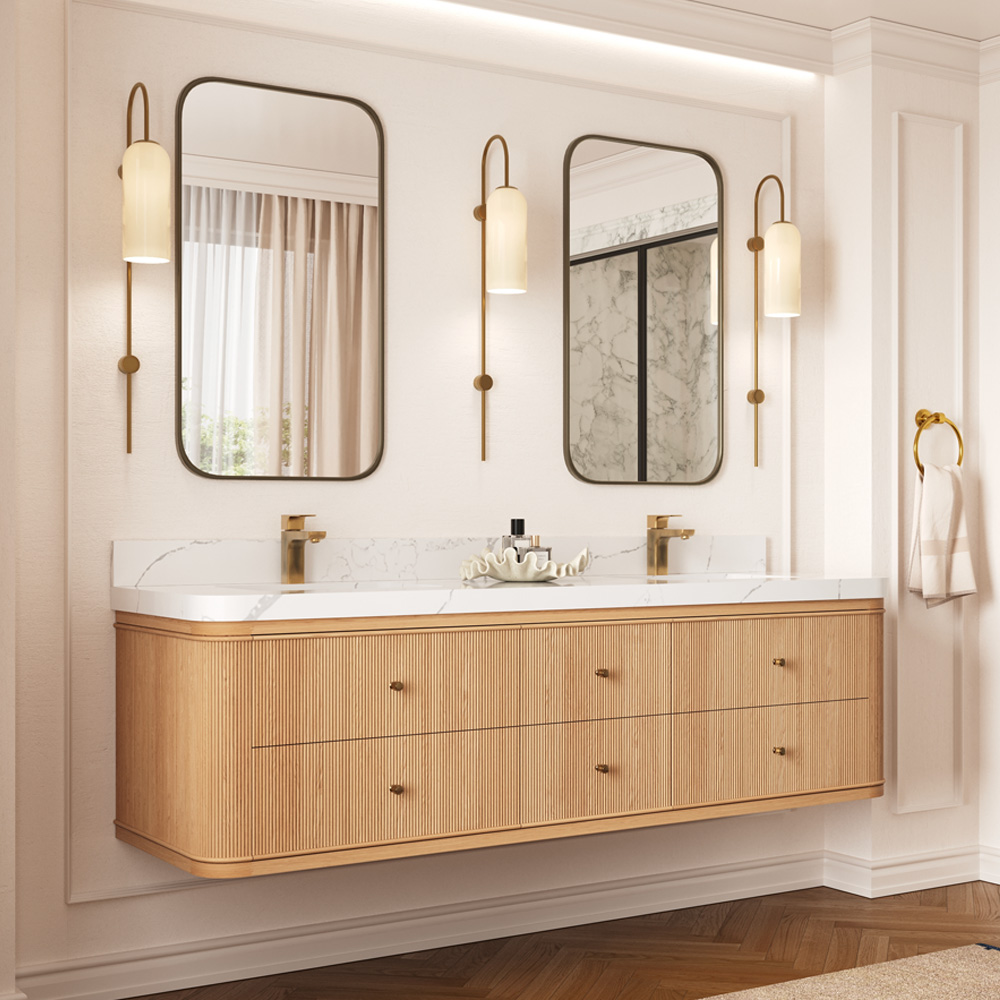
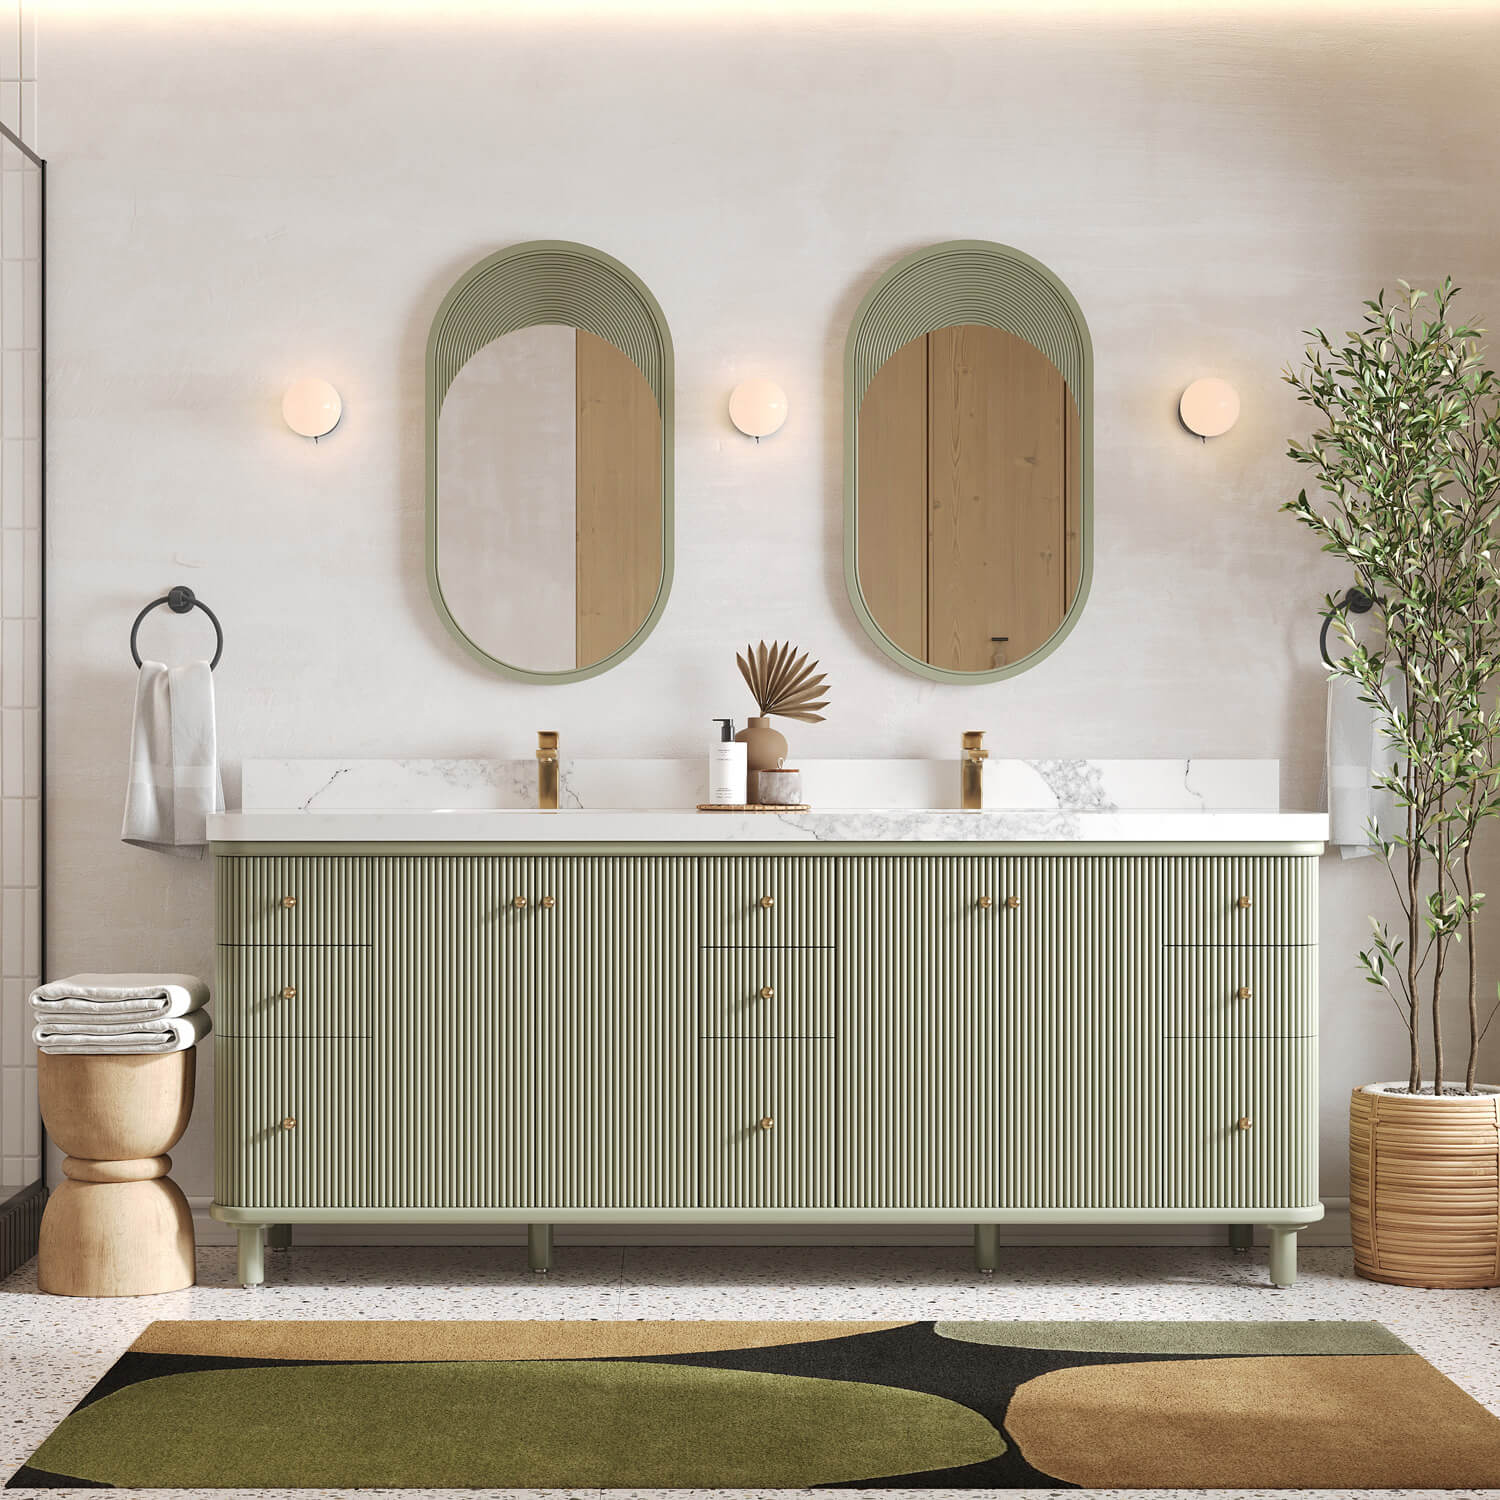
Get Your New Bathroom Vanity from Willow Bath & Vanity
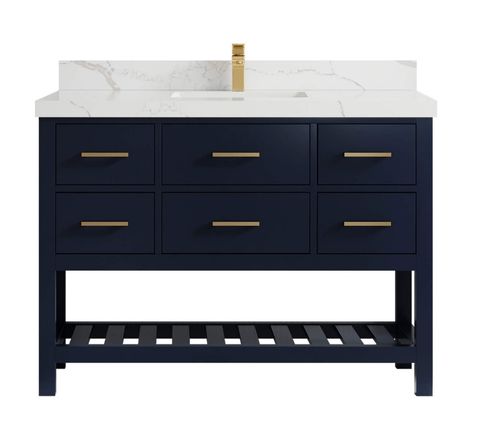
Thinking about replacing your old vanity unit? We suggest you make your purchase from Willow Bath & Vanity to get a durable and spacious new vanity unit. Our professionals have designed each single-sink and double-sink vanity carefully with natural wood to deliver a reliable and water-resistant product to you. We at Willow Bath & Vanity have a huge collection of vanity units to help you select your favorite design and color that gives your bathroom a stylish yet functional look. So why are you still waiting? Jump into our product catalog to get your new stylish vanity.
The Bottom Line
You can paint your bathroom vanity unit with the help of this guide as it is an easy-to-do and inexpensive way to give your bathroom a new look. We hope our in-depth, step-by-step instructions helped you complete your painting project. But in case of serious damage, like mold infestation or plumbing issues in your old vanity, consider replacing it with a new one.