



A bathroom vanity does double duty — it anchors the room's look and hides the plumbing — so installing one well matters. The good news: with careful measuring and the right steps, fitting a vanity is very doable as a weekend project. This guide walks you through installing a single or double vanity from start to finish, plus how long it takes, when to call a plumber, and the mistakes to avoid.
How to Install a Bathroom Vanity: 8 Steps
Step 1: Pick the Right Vanity
Start by matching the vanity to your space and plumbing. Measure your wall run and leave clearance for the door swing; in a smaller bath a compact single-sink vanity keeps the floor open, while a double vanity suits a larger shared bathroom. Not sure what width fits? Our vanity size guide (24–96") breaks it down. Also confirm the vanity has an open back or a cutout so it clears your existing drain and supply lines.
Step 2: Plan and Prepare
- Space: measure again to be sure the vanity fits — you need at least 49" of wall for a 48" vanity. Leave ~30" of clear floor in front.
- Plumbing: note the height and position of your drain and shut-off valves, and check they line up with the vanity's back panel.
- Studs: locate and mark the wall studs — that's what the vanity will anchor into.
- Water: know where your shut-off is before you start.
Step 3: Gather Tools and Materials
- Your new vanity (and countertop, if separate)
- Drill/driver and screwdriver
- Adjustable wrench
- Tape measure and a level
- Stud finder and pencil
- Silicone caulk and a caulk gun
- Shims
- Wall screws / fasteners (into studs)
- Plumber's putty or gasket for the drain
Step 4: Remove the Old Vanity
If you're replacing an existing vanity, shut off the water and disconnect the supply lines and P-trap. Remove the countertop and sink, then cut any caulk seam along the wall with a utility knife and detach the cabinet from the studs. Pull it away carefully and patch or repaint the wall while it's exposed — it's much easier now than later.
Step 5: Set and Level the Cabinet
- Position it: slide the vanity into place over the plumbing and check it with a level in both directions.
- Shim as needed: floors are rarely perfectly flat — tap shims under the base until the cabinet is level and doesn't rock. A level cabinet is what keeps drawers and doors aligned.
- Anchor it: drive screws through the cabinet's back rail into the wall studs so it can't tip.
Step 6: Install the Countertop and Sink
If the top is separate, set it on the base, center it, and secure it per the instructions. Fit the sink into the countertop cutout, sealing the rim with silicone caulk (or plumber's putty under the drain flange). Then run a neat bead of silicone caulk where the countertop meets the wall to block water and mold.
Step 7: Connect the Plumbing and Finish
- Faucet & drain: install the faucet and drain assembly, then connect the supply lines and P-trap.
- Test for leaks: turn the water back on and run it. Check every joint, and feel the P-trap for drips.
- Hardware & alignment: attach knobs or pulls and adjust the doors and drawers so they sit even and close softly.
Step 8: Extra Steps for a Double Vanity
- Centerlines: mark the centerline for each of the two sinks so they're evenly spaced.
- Plumbing layout: plan for two drains and two supply pairs — there's more to connect, so give each basin room.
- Outlets: make sure wall outlets stay accessible above or beside the wider cabinet.
How Long Does It Take? DIY vs. a Pro
A straightforward single-vanity swap — reusing existing plumbing in the same spot — takes most confident DIYers 2–4 hours. A double vanity, or any job that moves plumbing, runs longer. Call a licensed plumber if you need to relocate supply or drain lines, if you hit corroded shut-off valves, or if your vanity is a wall-mounted floating model that must hang precisely off the studs. When in doubt, a pro on the plumbing plus DIY on the cabinet is a smart split.
Why the Cabinet Itself Makes Install Easier
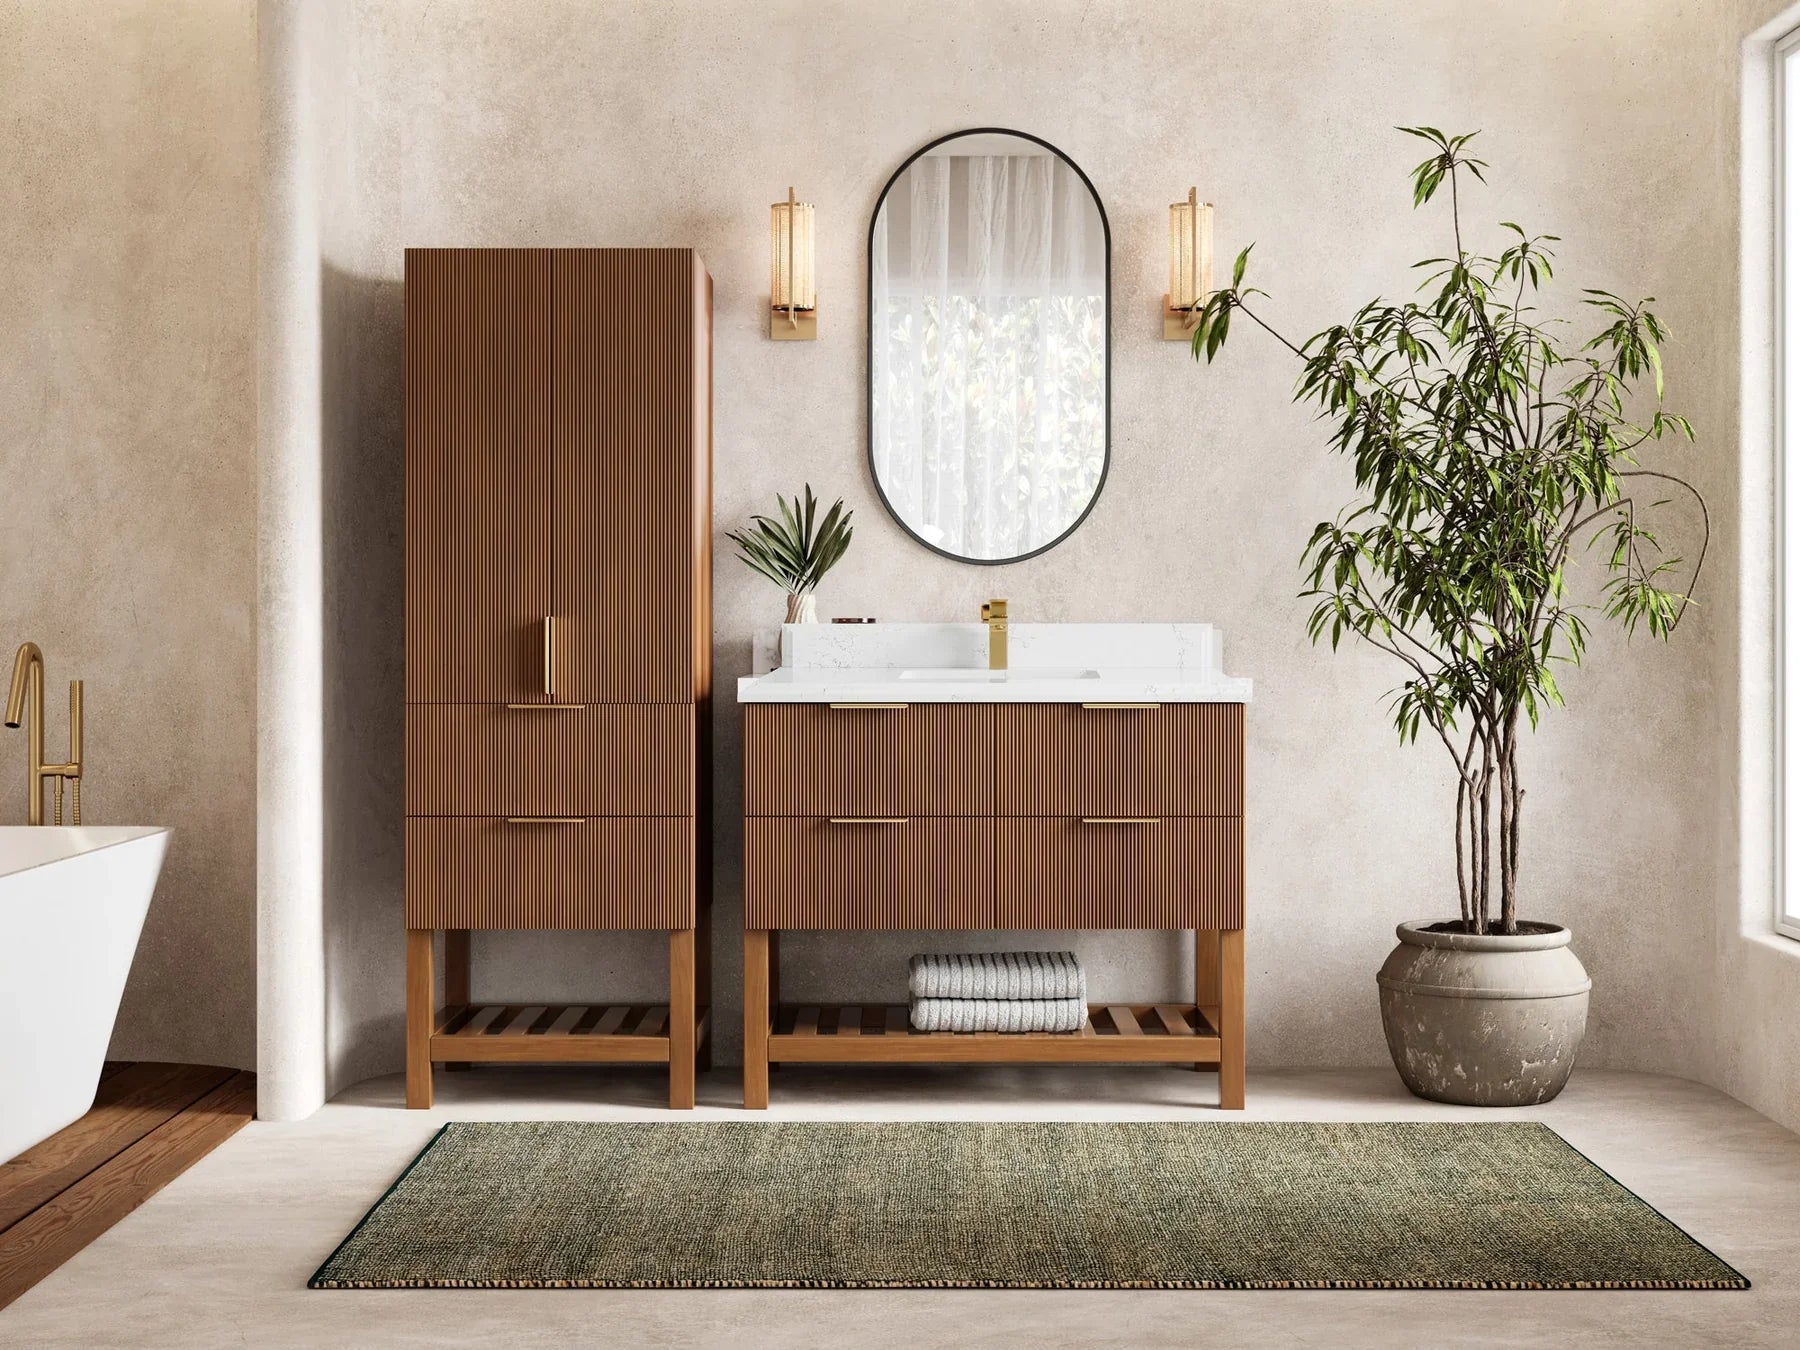
A vanity built from solid wood installs square and stays square. Cheap MDF and particleboard boxes can arrive slightly racked and swell later in a humid bathroom, which throws off door alignment. Every Willow vanity is built from solid teak, solid white oak, or durable painted birch — never MDF or particleboard — with a quartz or natural Carrara marble top, so it goes in true and holds its fit for years.
FAQ
Can I install a bathroom vanity myself?
Yes. If you're replacing a vanity in the same spot using the existing plumbing, it's a manageable DIY project with basic tools — measure carefully, level and anchor the cabinet to studs, and seal with silicone. Call a plumber if lines need to be moved.
How long does it take to install a bathroom vanity?
A simple single-vanity replacement takes about 2–4 hours. A double vanity or a job that relocates plumbing takes longer, often the better part of a day.
Do I need a plumber to install a vanity?
Not always. Reconnecting a faucet, drain, and supply lines in their existing positions is within reach for most DIYers. You should hire a licensed plumber to relocate drain or supply lines, or if you find damaged valves or pipes.
Should a bathroom vanity be attached to the wall?
Yes. Even a freestanding vanity should be screwed through its back rail into wall studs so it can't tip or pull away. Floating (wall-mounted) vanities rely entirely on a solid stud anchor.
Do you caulk around a bathroom vanity?
Yes. Run a bead of silicone caulk where the countertop or backsplash meets the wall to keep water out and prevent mold. Seal the sink rim and drain as well.
Ready to install yours? Every vanity from Willow Bath and Vanity is built from solid teak, solid white oak, and durable painted birch — never MDF or particleboard — so it installs square and stays square.
Shop 48-Inch Vanities · Double-Sink Vanities · All Bathroom Vanities.

Share:
Upgrade Your Bathroom with a High-End 60-Inch Bathroom Vanity
How to Make the Most of Your Small Bathroom with a 30 Inch Vanity